Setting up a DHCP (Dynamic Host Configuration Protocol) server is an essential task for network administrators, as it automates the assignment of IP addresses to devices on a network. Whether you’re running a Linux or Windows environment, configuring a DHCP server allows you to manage IP address distribution efficiently, ensuring that devices can connect to the network seamlessly.

A DHCP server automatically assigns IP addresses and other network configuration settings (like subnet mask, default gateway, and DNS servers) to devices on a network. This eliminates the need for manual IP configuration and reduces the chances of IP conflicts.
Linux systems commonly use the ISC DHCP server, which is an open-source and widely used DHCP server. Here’s how to set it up and configure it on a Linux system.
Before configuring the DHCP server, you need to install the DHCP package. This can be done using your Linux distribution’s package manager.
For Ubuntu/Debian:
sudo apt update
sudo apt install isc-dhcp-server
For CentOS/RHEL:
sudo yum install dhcp
Once the DHCP server is installed, the configuration file is usually located at /etc/dhcp/dhcpd.conf. You will need to edit this file to define the DHCP server settings, including the IP address range, subnet mask, and other parameters.
Here’s an example configuration:
# /etc/dhcp/dhcpd.conf
# Define the default lease time
default-lease-time 600;
# Define the maximum lease time
max-lease-time 7200;
# Define the subnet and the IP range to assign
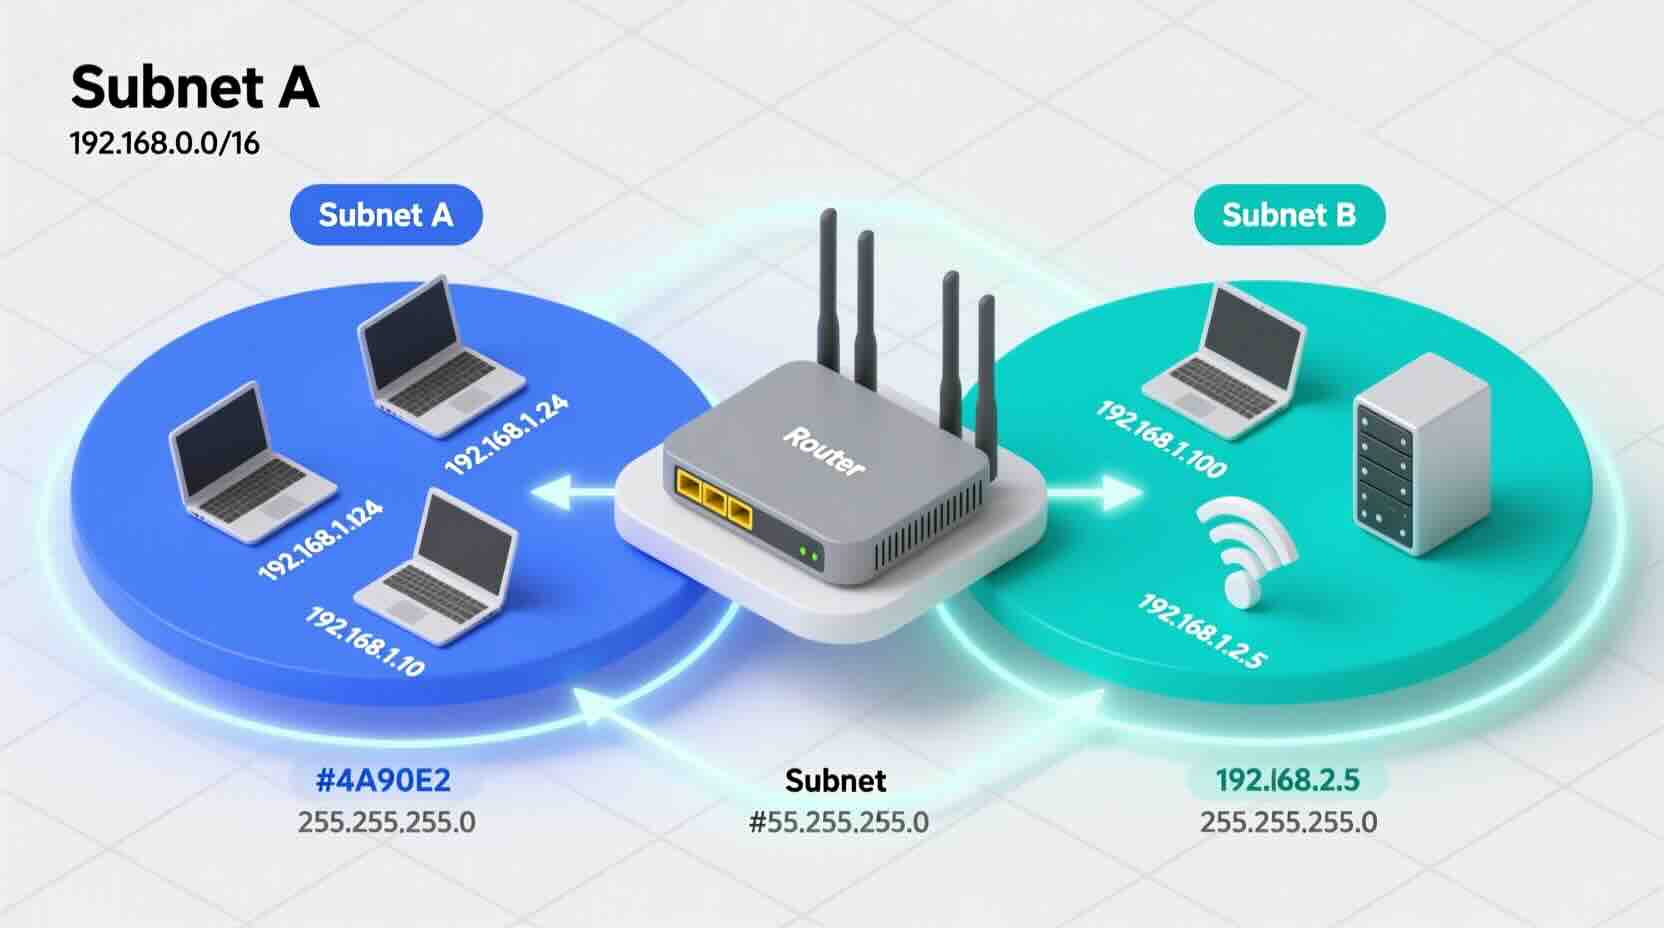
subnet 192.168.1.0 netmask 255.255.255.0 {
range 192.168.1.100 192.168.1.200;
option routers 192.168.1.1;
option subnet-mask 255.255.255.0;
option domain-name-servers 8.8.8.8, 8.8.4.4;
option domain-name “example.com”;
}
You need to define the network interface where the DHCP server will listen for requests. This setting is in the /etc/default/isc-dhcp-server file on Ubuntu/Debian or /etc/sysconfig/dhcpd on CentOS/RHEL. Specify the interface, like this:
For Ubuntu:
INTERFACESv4=”eth0″
For CentOS:
DHCPDARGS=”eth0″
Once you’ve configured the server, start the DHCP service and enable it to run at boot.
For Ubuntu/Debian:
sudo systemctl start isc-dhcp-server
sudo systemctl enable isc-dhcp-server
For CentOS/RHEL:
sudo systemctl start dhcpd
sudo systemctl enable dhcpd
To ensure the DHCP server is running correctly, check the status of the service:
sudo systemctl status isc-dhcp-server # Ubuntu/Debian
sudo systemctl status dhcpd # CentOS/RHEL
Additionally, review the logs located in /var/log/syslog (Ubuntu) or /var/log/messages (CentOS) to troubleshoot any issues.
Windows Server operating systems come with a built-in DHCP server role that makes configuration straightforward through a graphical interface.
To prevent unauthorized DHCP servers on the network, Windows requires DHCP servers to be authorized in Active Directory.
You can configure additional options like DNS servers, routers, and custom settings.
| Feature | Linux (ISC DHCP) | Windows DHCP |
| Installation Method | Package installation via terminal (apt/yum) | Installed via Server Manager (GUI) |
| Configuration Method | Editing /etc/dhcp/dhcpd.conf file | Configured via GUI wizard in DHCP Console |
| Network Interface Setup | Manual editing of interface config files | Automatically binds to selected interfaces |
| Lease Time and Options | Defined in dhcpd.conf file | Configurable through GUI with pre-defined options |
| Service Management | Managed via systemctl commands | Managed via DHCP Server service in Windows |
| Advanced Configuration | Flexible through text file editing | Limited to GUI options and manual option setup |
| Logging and Troubleshooting | Logs located in /var/log/ | View logs via Event Viewer in Windows |
Always restrict access to the DHCP server to trusted interfaces. Enable firewall rules to prevent unauthorized access.
Regularly back up your DHCP configuration to prevent data loss in case of system failure.
Continuously monitor DHCP server logs to detect issues such as IP conflicts or address pool exhaustion.
Ensure that your IP scope is large enough to handle all the devices on your network but not so large that addresses are wasted.
Configuring a DHCP server on both Linux and Windows systems is relatively straightforward, with each platform offering its own tools for easy setup and management. On Linux, the process involves working with configuration files and using the command line, while Windows provides a more user-friendly GUI for DHCP management. Understanding these processes allows network administrators to automate IP address management and improve the efficiency of their networks.

Alexander Timokhin
COO

A Beginner’s Guide to Subnetting IPv4 and IPv6 Addresses Subnetting is a critical

Why IPv4 Leasing Is Becoming the Smart Choice for Businesses in 2025 1. Introduction
As CEO of InterLIR, I’ve witnessed firsthand how network isolation strategies

What is an ASN? ASN stands for Autonomous System Number. It is a unique identifier

Anycast DNS: A Leader’s Guide to Protecting Your Digital Infrastructure Executive

RPKI Certification: A Leader’s Guide to Internet Routing Security Executive

Executive Summary: What You Need to Know 🎯 Strategic Importance – Internet

When AWS DynamoDB failed in October 2025, thousands of businesses discovered that

Executive Summary: What You Need to Know 🎯 IP reputation directly impacts your
Mastering Subnetting and Routing for Modern Networks Why Subnetting Matters in Today’s