The internet’s expansion has made the transition from IPv4 to IPv6 an inevitable and crucial task for future-proofing networks. IPv4, with its limited address space, can no longer support the ever-growing number of devices. IPv6, with its vast address space and advanced features, is the future. However, making this transition smoothly requires careful planning and execution. Here’s a comprehensive guide to help you navigate this change effectively.
IPv4, which has been the backbone of internet communication since 1983, is running out of addresses. IPv6, introduced in the late 1990s, was designed to solve this problem with its 128-bit address space. Here are some key reasons why transitioning to IPv6 is essential:
Before diving into the transition, it’s crucial to understand the basics of IPv6. Unlike IPv4, which uses a 32-bit address space, IPv6 uses a 128-bit address space, allowing for a virtually unlimited number of unique IP addresses. IPv6 addresses are written as eight groups of four hexadecimal digits, separated by colons, e.g., 2001:0db8:85a3:0000:0000:8a2e:0370:7334.
Begin by evaluating your current network infrastructure. Identify devices and services that support IPv6. Tools like SolarWinds Network Performance Monitor (NPM), PRTG Network Monitor, or ManageEngine OpManager can automate this assessment. Create a detailed inventory, noting which devices and services need upgrades or replacements.
Choose between Provider Aggregatable (PA) and Provider Independent (PI) IPv6 prefixes. PA prefixes are provided by ISPs and are easier to manage, while PI prefixes offer greater autonomy. Consider your needs for network autonomy versus cost efficiency.
Select a transition strategy that suits your network. The main approaches are:
Diagram Explanation: A server with both IPv4 and IPv6 addresses configured can communicate with hosts on both IPv4 and IPv6 networks via a dual-stack router.
Tunneling allows IPv6 packets to traverse IPv4 networks, encapsulating them within IPv4 packets.
NAT-PT translates IPv4 packets to IPv6 and vice versa, enabling communication between IPv4 and IPv6 networks.
| Category | Description | Estimated Cost |
| Planning and Assessment | Initial Assessment and Planning | [Insert Cost] |
| Hardware Upgrades | Routers, Switches, Firewalls | [Insert Cost] |
| Software Updates | Operating Systems, Network Tools | [Insert Cost] |
| Training and Development | IT Staff Training, Certification | [Insert Cost] |
| Miscellaneous | Testing, Contingency Fund | [Insert Cost] |
| Total Estimated Budget | [Total Cost] |
Implementing Dual Stack: Upgrade your network to support both IPv4 and IPv6.
| Pros | Cons |
| Seamless IPv4 and IPv6 operation | Requires IPv6 support on devices |
| Eases the transition process | May not be ideal for networks with limited IPv4 addresses |
Setting Up IPv6 Addresses: Configure IPv6 on all network devices, including routers, switches, and servers.
Windows: Go to Network Settings > Enable IPv6.
Linux:
sudo nano /etc/sysctl.conf
net.ipv6.conf.all.disable_ipv6 = 0
sudo sysctl -p
Testing IPv6 Connectivity: Ensure that IPv6 is functioning correctly across your network.
Continuous Monitoring: Use tools like SolarWinds NPM, PRTG, or ManageEngine OpManager to monitor network performance.
Ongoing Maintenance: Keep your policies and documentation up-to-date.
Transitioning from IPv4 to IPv6 is a gradual process that requires careful planning and execution. By following these steps, you can ensure a smooth transition that keeps your network future-proof and ready for the demands of tomorrow’s digital world. Whether you’re implementing dual-stack systems, tunneling, or NAT-PT, the key to success lies in thorough planning, continuous testing, and ongoing education.

Alexey Shkittin
CEO

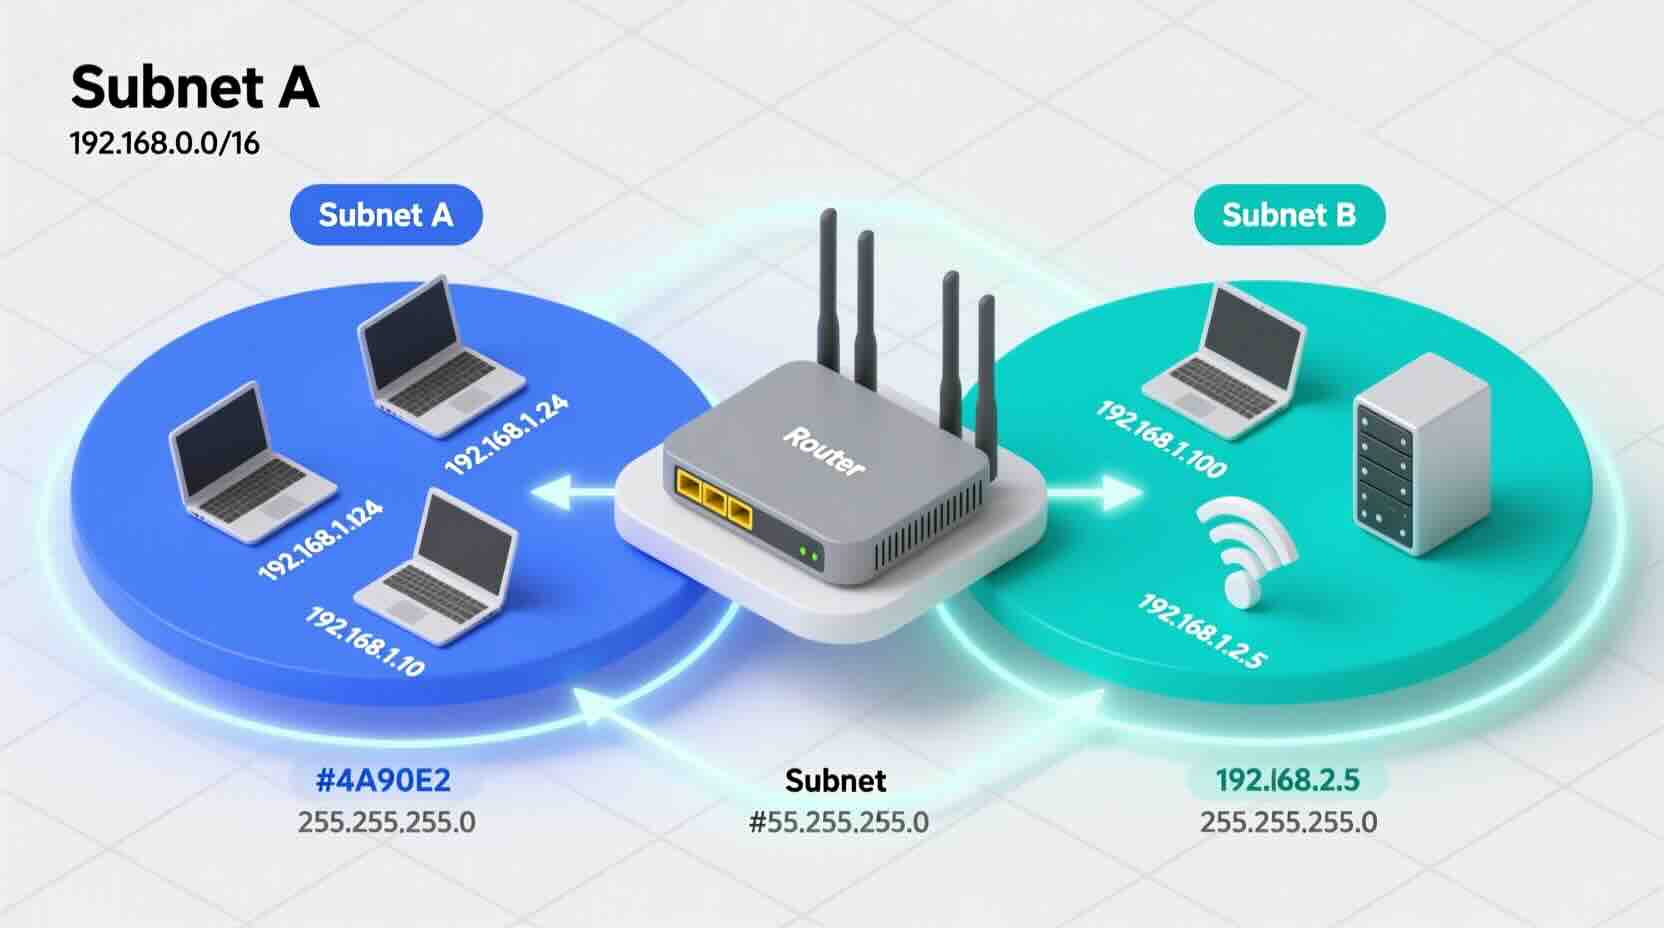
A Beginner’s Guide to Subnetting IPv4 and IPv6 Addresses Subnetting is a critical

Why IPv4 Leasing Is Becoming the Smart Choice for Businesses in 2025 1. Introduction
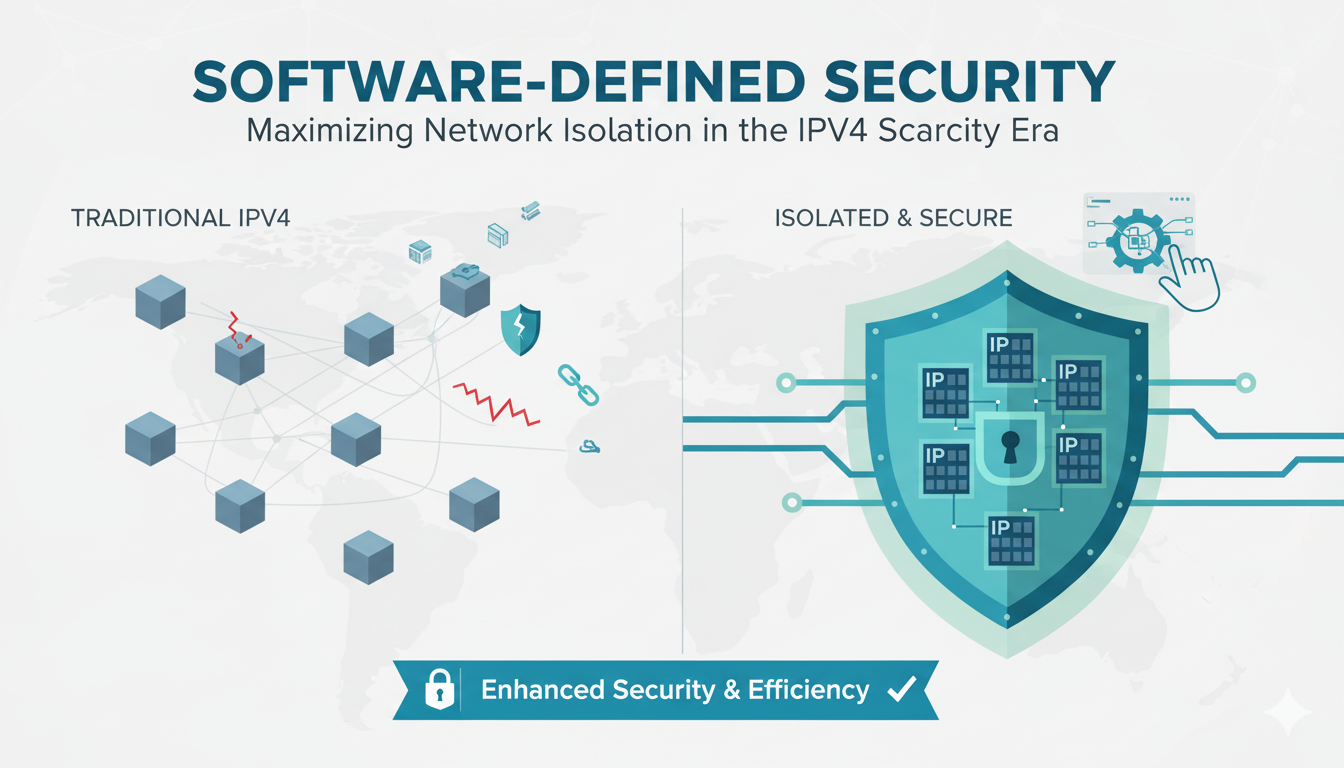
As CEO of InterLIR, I’ve witnessed firsthand how network isolation strategies

What is an ASN? ASN stands for Autonomous System Number. It is a unique identifier

Anycast DNS: A Leader’s Guide to Protecting Your Digital Infrastructure Executive

RPKI Certification: A Leader’s Guide to Internet Routing Security Executive

Executive Summary: What You Need to Know 🎯 Strategic Importance – Internet

When AWS DynamoDB failed in October 2025, thousands of businesses discovered that

Executive Summary: What You Need to Know 🎯 IP reputation directly impacts your
Mastering Subnetting and Routing for Modern Networks Why Subnetting Matters in Today’s